WordPress Documentation
- Get Started
- Wavepay Orange Money
- WP Setup
Quickstart
Welcome! Mindswave makes it easy for businesses in Sierra Leone to accept secure payments from multiple local payment channels. Integrate Wavepay mobile money wordpress plugin with your store today, and let your customers pay you with their choice of methods.
With Wavepay you can accept mobile money payments via:
- Orange Money
- Afrimoney
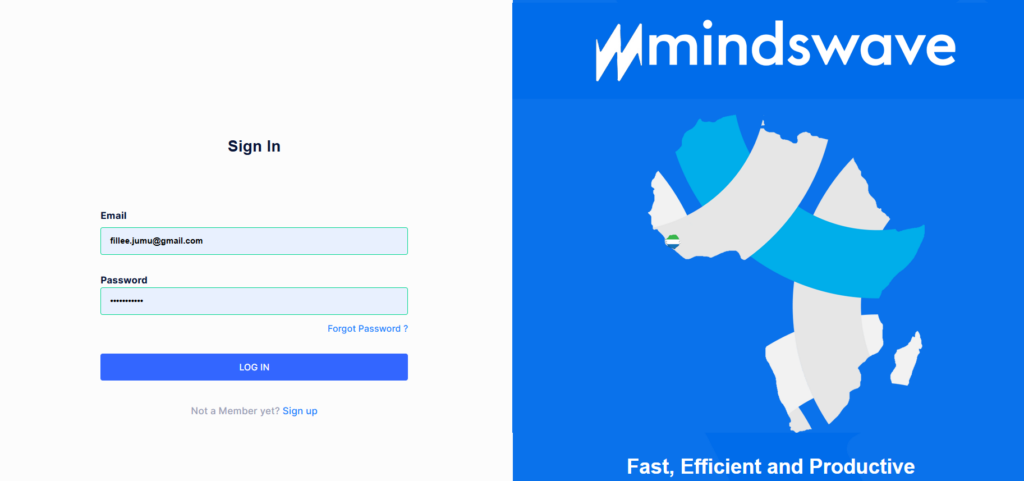
Step 1. Create an account
Start your experience by creating a free Mindswave account. By default, you would have access to your test environment after you sign up.

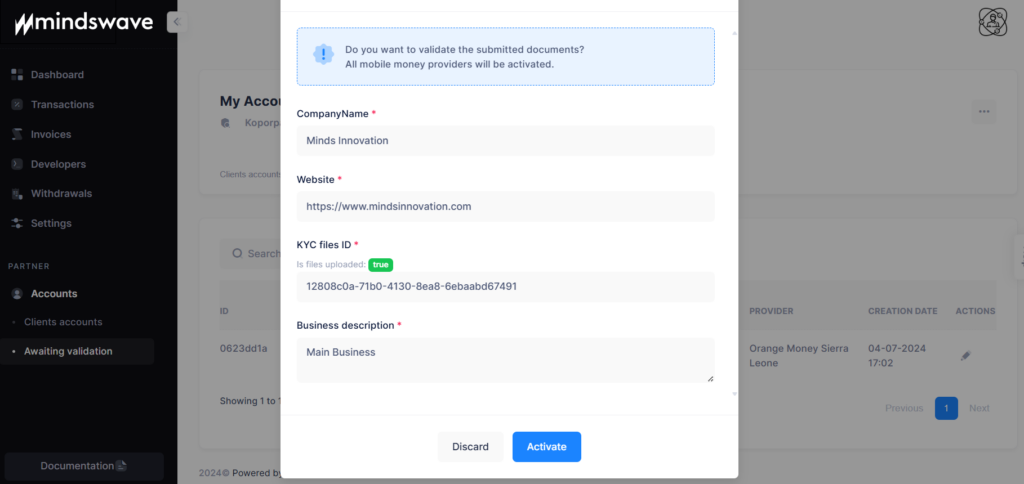
Step 2.Complete your KYC
To take your account live, We’ll need to review your details and profile and then you are required to submit your business documents (see full list) and other relevant information to make this review possible.

Step 3. Go live and accept payments from your users
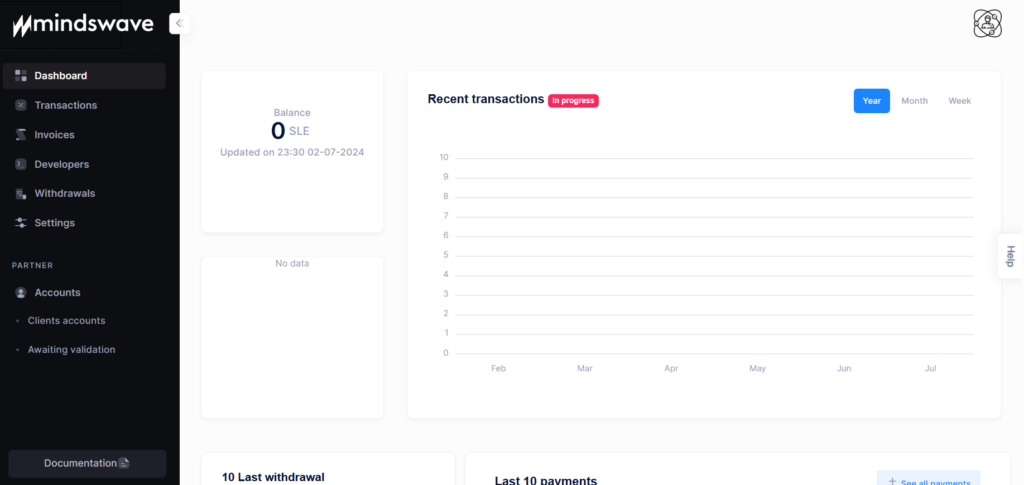
Once your account has been approved, you can start collecting payments from your customers (check out this quick demo on how to utilize your dashboard).

Make sure you provide all the required information accurately. The requested mobile number will be used to validate cash withdrawal operations.
You can start invoicing your customers on your various media as soon as your account is validated by the Mindswave compliance team.
We also encourage you to make sure your account is set up properly before you commence payments. Reach out to our support team if you need any assistance.
Introduction
Welcome to the Orange Money payment guide for eCommerce transactions powered by MindswavePay. This document provides a comprehensive step-by-step guide for Orange Money customers in Sierra Leone to make online payments using their mobile devices and the Orange Money app.
Prerequisites
- Active Orange Money Account: Ensure you have an active Orange Money account.
- Mobile Device: A mobile phone with the Orange Money app installed or access to the Orange Money USSD service.
- Desktop or Mobile Browser: To make the payment on the merchant’s eCommerce website.
Steps to Make a Payment
1. Initiate the Payment
- Visit the Merchant’s Website:
- Open your desktop or mobile browser and navigate to the merchant’s eCommerce website where you wish to make a purchase.
- Select Items:
- Browse through the website, select the items you want to purchase, and proceed to the checkout page.
- Choose Payment Method:
- On the checkout page, select ‘Orange Money’ as your payment method.
2. Generate One Time Password (OTP) via USSD
- Access Orange Money USSD Service:
- On your mobile phone, open the dialer app and enter the USSD code #144*3*12# to access the Orange Money service.
- Request OTP:
- Follow the prompts on the USSD menu to request a temporary password. You will need to enter your Orange Money secret code to proceed.
- Receive OTP:
- After requesting the OTP, you will receive a One Time Password via SMS from Orange Money. Use this OTP promptly as it is valid for a short period.
3. Generate One Time Password (OTP) via the Orange Money App
- Open Orange Money App:
- Launch the Orange Money app on your mobile device.
- Select Payment Option:
- Navigate to the payment section and look for the option to generate an OTP.
- Use QR Code Scanning (if available):
- If the merchant’s payment page provides a QR code, use the QR code scanning feature in the Orange Money app to automatically fill in the payment details.
- Generate OTP:
- Follow the instructions in the app to generate a One Time Password.
- Receive OTP:
- You will receive the OTP directly on the app or via SMS, depending on the app’s functionality.
4. Complete the Payment
- Enter OTP on the Payment Screen:
- Return to your desktop or mobile browser where the payment screen is open. Enter the temporary password (OTP) you received from Orange Money in the designated field on the payment screen.
- Confirm Payment:
- After entering the OTP, follow any additional prompts to confirm and finalize your payment. Review the payment details and complete the transaction.
- Payment Confirmation:
- Once the payment is processed successfully, you will receive a confirmation message on the payment screen and potentially an email or SMS from the merchant confirming your order.
Troubleshooting
- OTP Not Received: If you do not receive the OTP, check your mobile network connection and try requesting the OTP again. Ensure that you entered the correct USSD code or used the app properly.
- Invalid OTP: Ensure that you entered the OTP exactly as received. If you still encounter issues, request a new OTP and try again.
- Payment Issues: If your payment fails or you face any errors, contact the merchant’s customer support or Orange Money customer service for assistance.
Contact Support
- Orange Money Customer Service: Reach out to Orange Money support via their customer service number or website for issues related to OTP generation or Orange Money account problems.
- Merchant Support: Contact the merchant’s customer support if you have issues with the payment process or need further assistance with your order.
Security Tips
- Keep Your Secret Code Safe: Never share your Orange Money secret code with anyone.
- Use Secure Browsers: Ensure you are using a secure and updated browser when making online payments.
- Verify Merchant Website: Always verify that you are on the correct merchant’s website before entering your payment details.
Conclusion
By following these steps, you can easily and securely make payments using your Orange Money account through the MindswavePay gateway. If you have any questions or need further assistance, refer to the support contacts listed above.
Thank you for using Orange Money for your online payments!
Integrating Mindswave with your WooCommerce store is a great way to offer your customers multiple payment options. We have created a step-by-step guide to help you through the integration process.
Step 1: Sign up for a Mindswave account:
Visit Wavepay Console to create a Mindswave for Business account if you don’t have one. You need an account to integrate Flutterwave into your WooCommerce store.
Step 2: Install the Wavepay WooCommerce plugin:
- Download the Wavepay Plugin from Wavepay – Mindswave
- Log into your WooCommerce admin dashboard.
- Go to “Plugins” on your dashboard.
- Click on “Add Plugin’’ and the click on “Upload Plugin’’
- Go to your download folder, select the Wavepay plugin zip file and click upload
- Then, install the official plugin.
- Activate the plugin once it’s installed.
Step 3: Configure the plugin and get your API Keys:
- After activating the plugin, go to WooCommerce > Settings > Payments.
- Enable Wavepay Plugin as a payment option and complete the setup.
- Login to your Mindswave Console. Ensure your account is live to receive real payments. You must have completed your onboarding and submitted all required documents for your account to be live.
- Get your Wavepay API keys from your Mindswave console under Developers > API Keys.
Step 4: Secure your integration with Developer Application Token:
WordPress Setup
- Generate a App Token by clicking on Create
- Enter your Application Name
- Submit your Application (A Token will be automatically generated)
- Copy the Private Key and Paste on your Woocomerce > Payment > Wavepay Setup > Private Key
- Copy also the Token and Paste on your Woocomerce > Payment > Wavepay Setup > Token
Application Setup
- Include your Webhook by pasting it on your App Token
- Also, include your Return URL and paste it on the APP Token
Step 5: Test your installation:
- Before going live, it’s essential to test the integration to ensure everything works correctly so your customers enjoy a seamless checkout experience.
- You can do this by placing a test order on your WooCommerce store and completing the payment using Mindswave.
Step 6: Go live and start accepting payments:
- Once you’ve confirmed that the integration works fine, you’re all set to accept payments from your customers!
For more detailed instructions and troubleshooting tips, refer to our official Documentation here.
Still Have Questions? We’re Here to Help!
Feel free to contact us if you have any more questions or run into any issues during the integration process. We’re always here to help!
